Seat Ibiza Cupra 1.4 TSI DSG – Stage 1, 2, 3
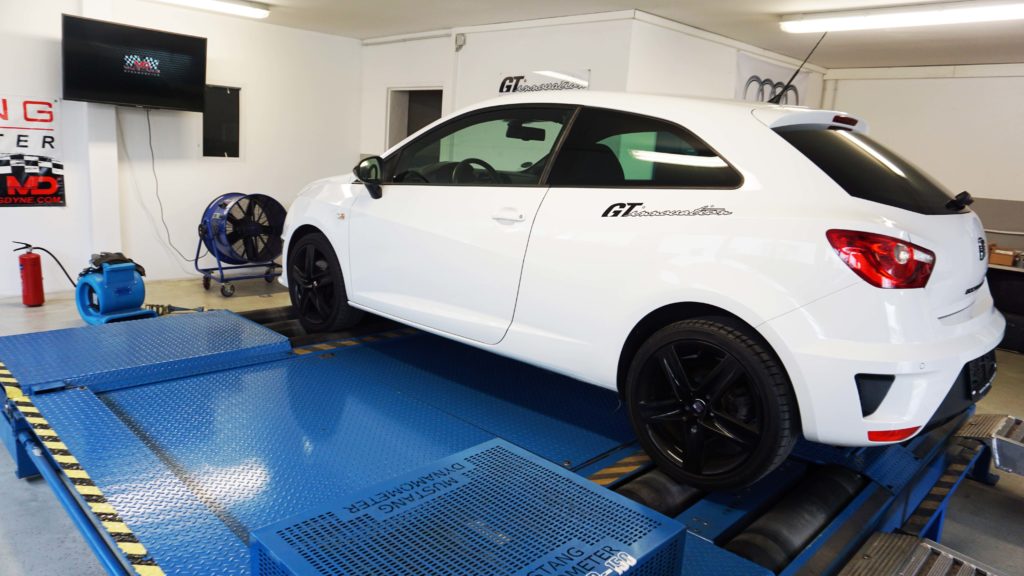
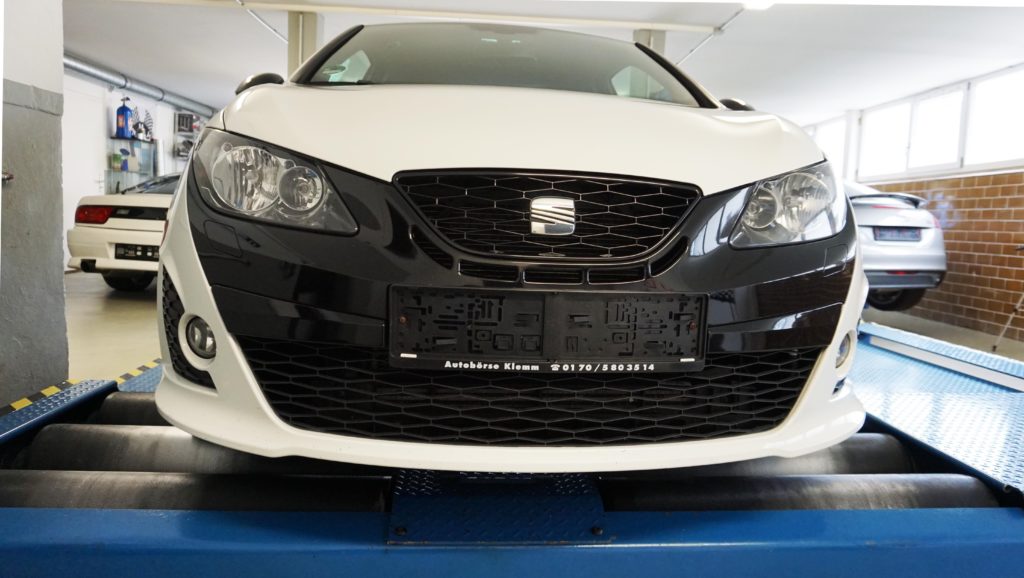
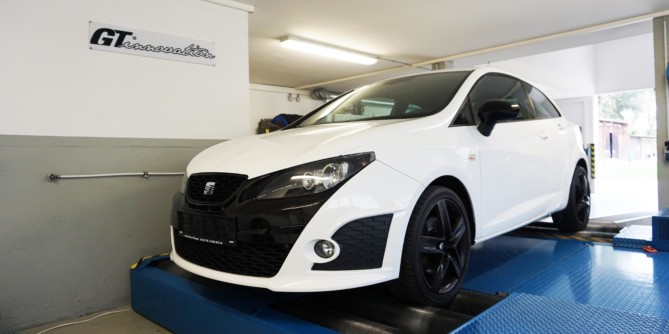
The SEAT Bocanegra is a three-door supermini concept car, built by the vw-group automaker SEAT and designed by former Lamborghini designer Luc Donckerwolke who at the moment had been assigned SEAT’s design director.
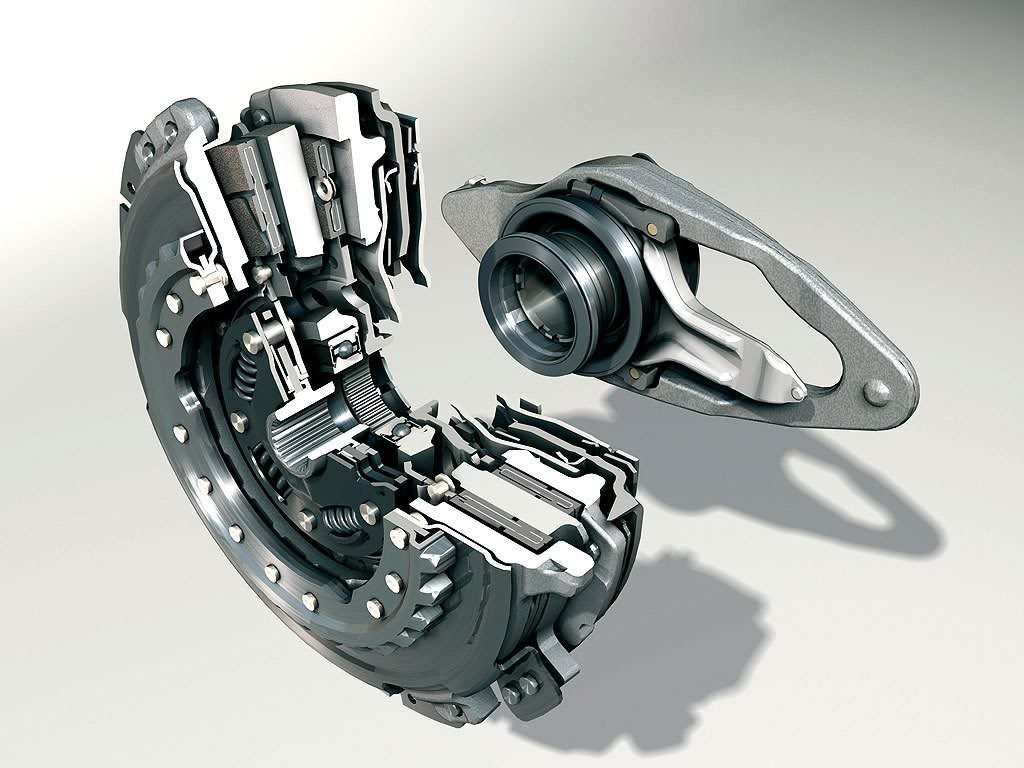
It has a 1.4-liter TSI engine giving 180 ps (134 kW; 177 bhp – 250nm; 184 lb-ft) and a dq200 dry clutch seven-speed direct shift gearbox. As a company we decided to purchase this particular platform for developing some custom functions for our customers.
Before we show our results on our on-going project we are going to write about some things that had to be done in order to have a good working engine and transmission with no future damages.
The car was bought used so we needed to address and repair any potential mechanical or electronic issues as we all know that over the years this platform has shown a lot of flaws that could end up in catastrophic engine or gearbox failures.
Our Bocanegra was purchased with 76.000km on the clock and zero factory recalls done, which was bad as not only the timing chain needs to be replaced but also the dq200 gearbox had to be re-newed with a newer and better version.
That did not stopped us from doing the right thing and fix everything that needs to be fixed before we start tuning this car for various stages with various hardware upgrades, that we will do over the next months. Yes you guessed right, this will be a build thread starting from timing chain replacement to gearbox replacements and numerous upgrades so lets start from the beginning.
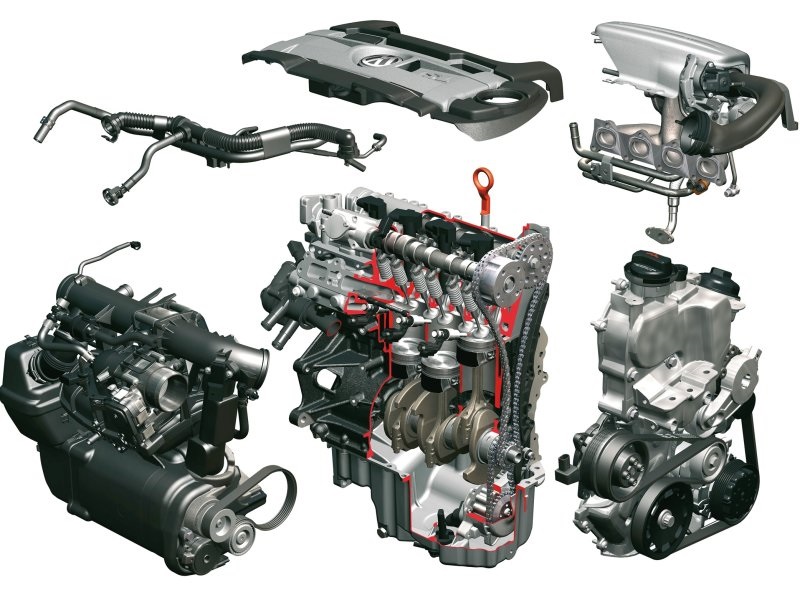
Our engine is the well known 1.4 TSI/TFSI EA111 with twin-charging system (compressor + turbo charger) and in our case is the most powerful version of it with a compression ratio of 10:1 . Here are the official timing data for our model with stock software :
- Top speed 225 kph (140 mph)
- 0 – 40 kph 2.1 s
- 0 – 50 kph 2.5 s
- 0 – 80 kph 4.8 s
- 0 – 100 kph 6.6 s
- 0 – 130 kph 10.8 s
- 0 – 200 kph 28.2 s
- 0 – 100 mph 17.3 s
- Est. 1/8 mile 10.1 s @ 79.5 mph
- 1/4 mile 14.9 s
- Est. 1/2 mile 23.9 s @ 114.3 mph
- Est. 1000 m 27.6 s @ 193.0 kph
- Est. 100 – 200 kph 23.3 s
The 180ps Version of the engine ( CAVE – CTHE ) should run strictly on 98+ octane fuel and you will see why on our log analysis spreadsheets. A good presentation video of this engine can be found here :
Lets get back to our project now and what has to be done in order to have a healthy running engine.
Since the car had no timing chain replacement and was still with the factory one we decided that this will be our first repair/upgrade and ordered the complete genuine VW timing chain kit which costs around 700 to 750 euro. Further more we replaced our spark plugs and our water pump which is one piece with the compressor clutch engagement pulley as you will see in the following photos.
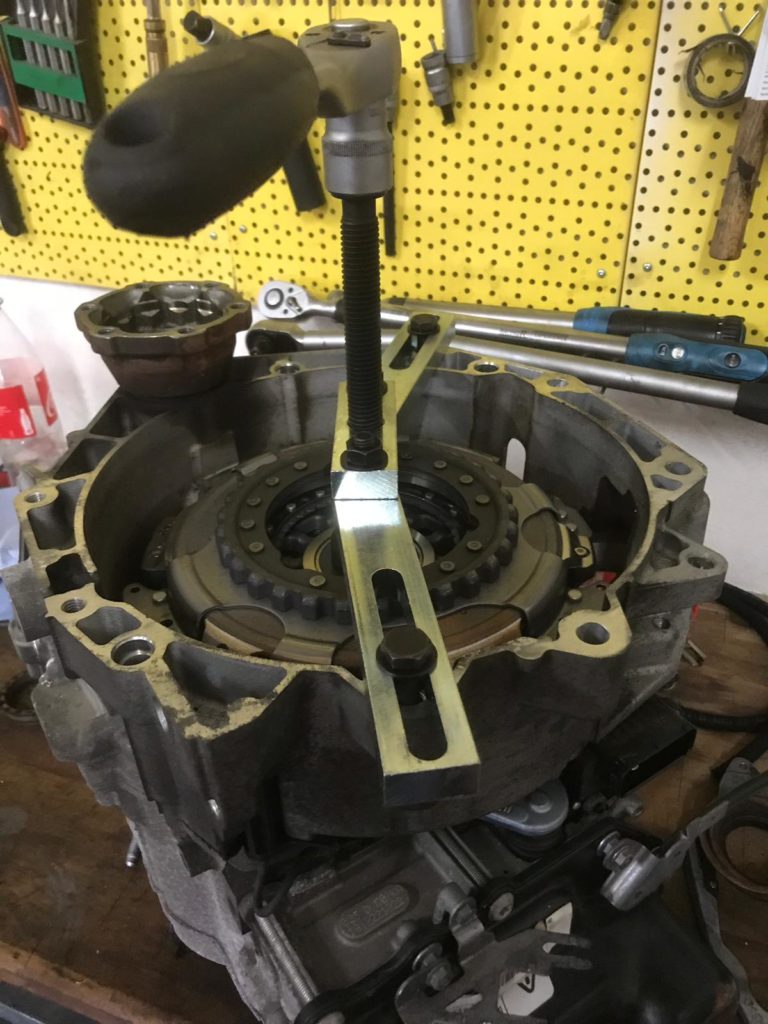
Both cases of Engine and Gearbox repair, require special tools in order to adjust and lock the timing and the gearbox discs into the right positions.
The engine needs to be locked in a position from the crankshaft pin and from the back side of the camshafts with a special tool that locks both of them in the top dead center.(Front side (cam gears) | left – Back side right)
Once we removed everything it was time to replace the timing chain, the tensioner, the variable cam gear, basically everything that is related to the timing chain. Here is the list of the parts we changed with code numbers:
- 03C109158A – Timing Chain
- 03C109469K – Rail
- 03C109509P – Rail
- 03C109507BA – Tension-er
- 03C109571F – Gear
- 03C109088E – Variable cam Gear
- 03C105209AG – Gear
- 03C109287G – Gasket
- 038103085E – Gasket
The next thing that will be replaced is the water pump/camshaft pulley which is located in the same area as the timing chain.Since the previous water pump has to be removed in order to access the timing chain cover it was time to replace that as well with a new one.
The part number is universal and fits to most 1.4 tsi engines : 03C121004J
The magnetic clutch has a clearance and it is advised to be double checked before installation. If the clearance is not correct or you had a previous error/ problem with the supercharger engagement / disengagement you either need to adjust the clearance or replace the complete pulley.
Possible pulley DTCs since this is a switch on/off magnetic clutch (2 wires) are :
004265 – Magnetic Clutch for Supercharger
P10A9 – 000 – Stuck Closed
004269 – Magnetic Clutch for Supercharger: Open Circuit
P10AD – 002 – Lower Limit Exceeded – MIL ON
Now who would have thought that an owner will be so irresponsible and a car seller will be so idiotic that has never changed the stock original spark plugs from the day that the car was purchased. Here is how the stock spark plugs looked like after around 76.000km.
Lean and burned out with so much carbon buildup car had many many misfires registered in the ecu from past usage and you can easily see that with vcds or any other proper diagnostic system.
Now here is a quick way to see if the car had an actual issue with any of the 4 coil-packs which is very very common among vw-group vehicle owners.Without even checking the coils physically, we see that cylinder 1 had a history of 30.453 misfires which means that either the coil-pack went bad or the engine was severely damaged.In our engine the first case was true since one of the coil-packs was a different brand from the other three and yes it was in the first cylinder.
Now Here is a trustworthy solution for upgrading both spark and coil packs at once without the need of upgrading to the red R8 Ngk ones since the only difference is that you will need to buy some special spacers and relocate a bunch of sensors and things from your factory looking engine.
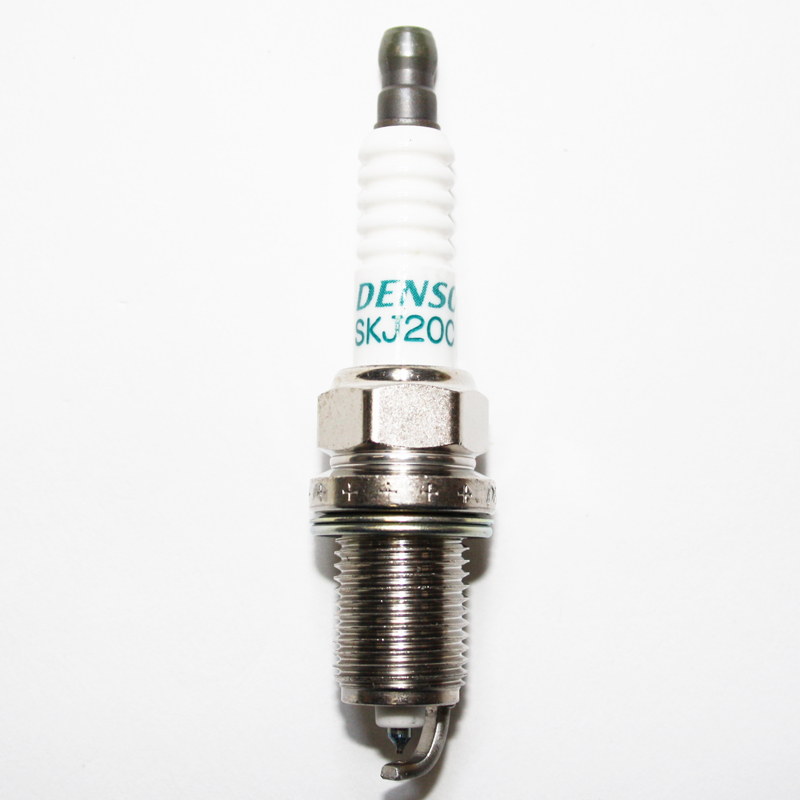
Number one is the Iridium DENSO SKJ20CR A8 which are a perfect upgrade for your engine.There are some more choices that will be discussed later on the same build.
Number 2 are the coil pack coming directly from NGK and don`t rush to thing about the red ones(R8) which do not fit directly and need a ridiculous adapter that relocates everything on its way.
Those NGK coil packs with the code : 48003-u5002 are used on 1000hp builds in rb26 Engines and not only, so be sure that they can definitely fit the needs of a 1.4 tsi engine with 300hp or 400hp, so don`t through your money away for nothing.
Most owners neglect to change a very important part that is required on every 1.4 tsi vehicle and that it the fuel filter. Sometimes the part is replaced with the wrong one too and that is bad because the fuel filter affects directly the fuel pressure, as it is also a fuel pressure regulator.
Be sure to double check the required code number that vw suggests using the factory VIN number. It is not bad to use the higher pressure filter to a car that requires less but it is bad to use the smaller one if VW requires to install the biggest which is 6.6 bars.
Bosch F5959 (0450905959) Fuel Filter
The oil is a crucial point for the longevity of this small twin-charged engine and the original 5-30 long life oil from vw will not even come close to providing that.
Since we are going to use this engine for several power stages, we recommend either 10w-40 Motul 300V chrono racing oil or the Ravenol RCS SAE 5W-40 or any other 5w-40 oil with ester-core and race specs you can find.
The 5W-40 fits more the factory requirements of this engine but we prefer the Motul 10w-40 for our case.
Now that our engine is running safely and fault free, with new oil, spark plugs, coil packs, oil and fuel filter lets proceed to the next possible reliability issue which is the DQ200 DSG 7 automatic gearbox.
The Dq200 7 Speed dry clutch direct shift gearbox is the Black Ship of the DSG family among DQ250 DQ381 and DQ500. It is rated for maximum torque of 450nm although it is internally electronically limited at 250nm.
In some cases Functions Like launch control are disabled by factory to avoid internal damages to the discs or to the gearbox itself. In General the dq200 transmission is based on 4 different parts and each one has its own weakness.
- Clutch pack
- Flywheel
- Main Mechanical unit (Bell, Housing, Gears)
- Mechatronic (Tcu, Valves, pressurized oil circuitry)
The Clutch pack:
One of the weak points of the dq200 gearbox is the original clutch discs which are common to fail in high mileage or from torque levels higher then 280nm without the appropriate software on the tcu.
An unavoidable aspect of any clutch system is that it will wear down over time. It is designed with this in mind, as the whole purpose of the clutch is to “slip” in order to provide a smooth transition between gear ratios. The new dry clutch assembly in the DSG DQ200 is much more akin to a regular manual transmission clutch than the previous DQ250 wet clutch.
The control module for the transmission will attempt to adapt and compensate for clutch wear over time, however it will eventually reach a point where the clutch is simply too worn to function properly. When this happens, the most common symptoms one may experience are slipping in gears and “failsafe” mode.
possible DTCs are :
006011 – Clutch 1
P177B – 003 – Tolerance Limit Reached – Intermittent
006012 – Clutch 2
P177C – 003 – Tolerance Limit Reached – Intermittent
Once the gearbox software is upgraded with higher clamp pressures the cooper mix disc will hold up to 420nm. If you consider going over that torque level, the discs need to be upgraded with better ones (carbon/kevlar ones).
Since we are going to build the car for different power levels we started by replacing the discs with the kit from Luk which is the best choice for factory upgrades/replacements if you don`t need to go for more expensive race clutch packs.
The flywheel :
The main mechanical unit :
The Mechatronic unit :
This is the separate electro-hydraulic system mentioned above. It contains all the mechanics necessary for controlling the shift forks that engage the gears themselves, as well as the electronic control unit for the gearbox.
Numerous failures have been reported over the years from those units especially with the first production versions which were recalled and replaced with new units. Some of those problems have to do with the software itself and this is where we will focus since the unit we bought for replacement (used one) was a newer generation one.
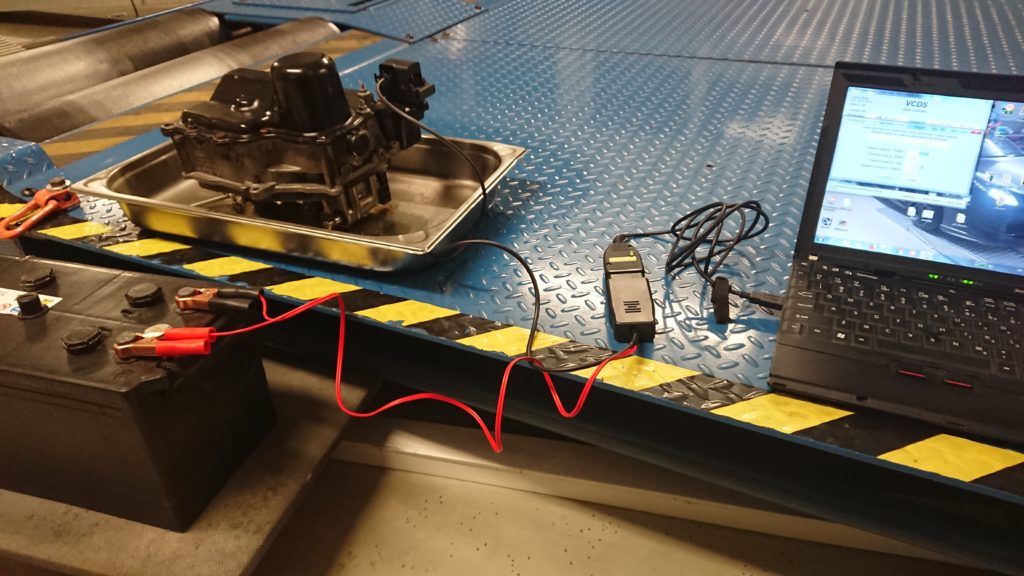
First of all we programmed the mechatronic unit once it was replaced by obd with the original software from the previous one we had. As you can see in the following picture the old unit is still functional with no problems and connected through a special adapter with our computer, in order to backup the coding and the old software settings from it.
Once we had all the information we needed we proceeded through programming the new unit with the upgraded software version and code it with the exact same settings.
upgraded to : 0AM300050K 0W0217I05 31A 0696k810AM tb6k C26S
After the initial programming we have to do the basic settings using vcds, vas or odis so the gearbox can start learning the new disc clearances and adapt itself, otherwise it will jerk or miss gearshifts and will never function correctly thus new discs might be damaged too.
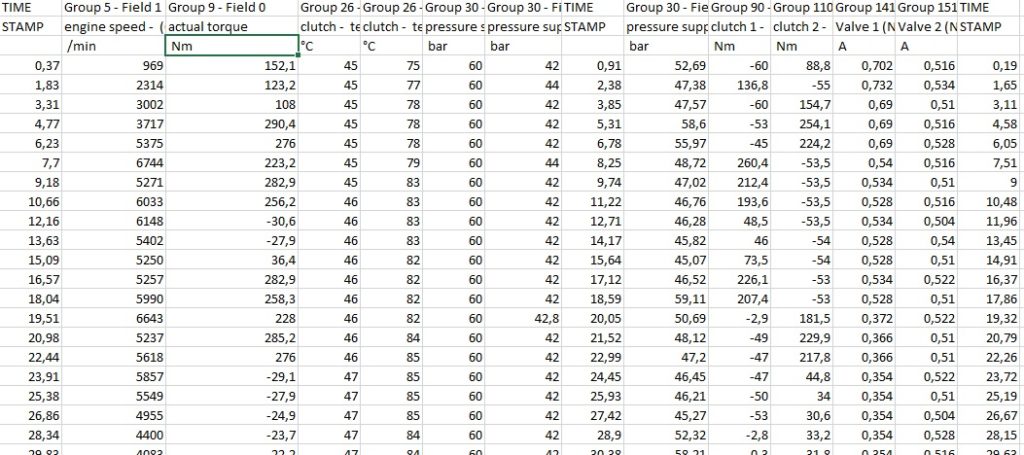
Once all were set and the car was driven with all gears and all conditions as it is described on the vcds manual we made some basic logs to ensure the functionality of it even though we had no dtcs or error messages.
Same goes for the engine functionality and health check…
The above logs are from totally stock engine and dsg software and were made only to double check the functionality of both after our various repairs/upgrades which should be a standard procedure for everyone.
Since everything looks good and car drives perfectly we will now get into measuring the car in our awd dyno and read the stock ecu software in boot mode since we are going to use both calibration data and native code for our on-going modifications.
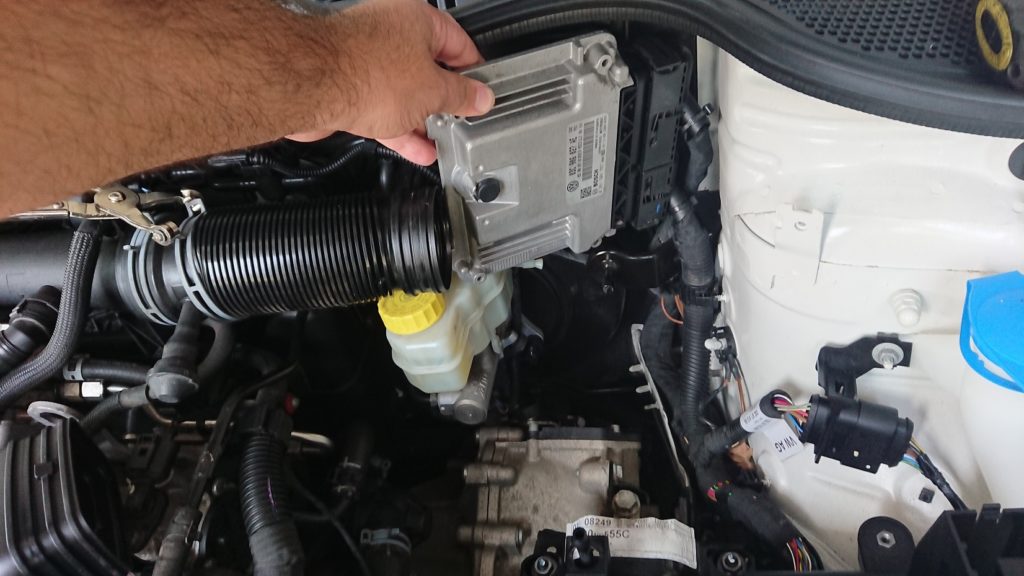
Ecu removal is easy as it is installed by factory in plane site behind the airbox filter which will also be soon upgraded. The med17.5.5 Engine management can be programmed in boot or by the diagnostics port (obd 2) but we need to completely back up our ecu for future tests and code development so we will open and connect it to our Genuine Ktag Master tool as you will see in the next picture.
Before we provide the full results on every stage which include timing and dyno measurements lets examine the stock power figures and diagrams which will help us fine tune the car and/or look for further issues that are not showing up in normal driving conditions.
Here is the diagram from our AWD mustang dyno in road emulation mode :
At 12.8 Degrees Celsius and an elevation of 520m (954 mbar – Munich area) the engine has produced 186 ps peak horsepower stabilizing at around 180ps between 4900 rpm and 5900 rpm with no visible irregularities (Red line) on the diagram. The torque diagram though (Blue line) is not that constant on the low rpm area 2800rpm to 3700 rpm.
That anomaly is normal for all the 160ps and 180ps versions of the 1.4 tsi engine, since that is exactly the point that the compressor going from active to bypass state and both the engine management system and the transmission control unit is trying to stabilize and regulate the torque. In other versions with a twin charging system, for example 140 ps and 150 ps the effect is less noticeable to non.
Experienced drivers will feel that while driving in the street with full throttle. This anomalies will be wiped out completely with our software on both Ecu (Med17.5.5) and Tcu (Dq200). The peak number of 274 Nm came at 2600 rpm and stabilized at over 250nm until 5000rpm which is much more than expected or advertised.
In Summary our car produced a top Peak horse power of 186Ps and 274nm using 98 octane fuel which is suggested for all the high powered engines from this manufacturer.
Now if you wish to run this engine on 95 octane because either it is not available for your country or you can not afford it do not tune the software of your engine for more then 20ps and 40nm since the only thing you will achieve is to damage the internals over time until your engine brakes up.
95 octane fuel is not suitable for high compression, turbocharged engines which have fuel efficiency as a main feature and target from their engine management system. You can tune the software for those engines with 95 octane but the fuel consumption will increase in order to have a safe afr ratio and no knock.
Here is what we saw running this engine on 95 fuel and full throttle with speeds over 120 kmh and stock software.
As you see above the engine management system is pulling out timing. Why ? because the factory knock thresholds are detecting more noise from your engine than it is allowed which means that either is knocking or it is close to do so and we all know what excessive knock can do to an engine.
The value -3 means that the ecu has reduced to a particular cylinder, 3 degrees of spark advance in order to keep the engine safe. Immediately the power of the engine is reduced and the fuel is enriched to avoid further potential knocking/pre-ignition conditions.
That is a normal safety function that can be adjusted according to your needs, however the re-calibration of the knock threshold maps have to stay to a safe level and be double checked by cross referencing your knock sensor voltage with a good knock analyzer device.
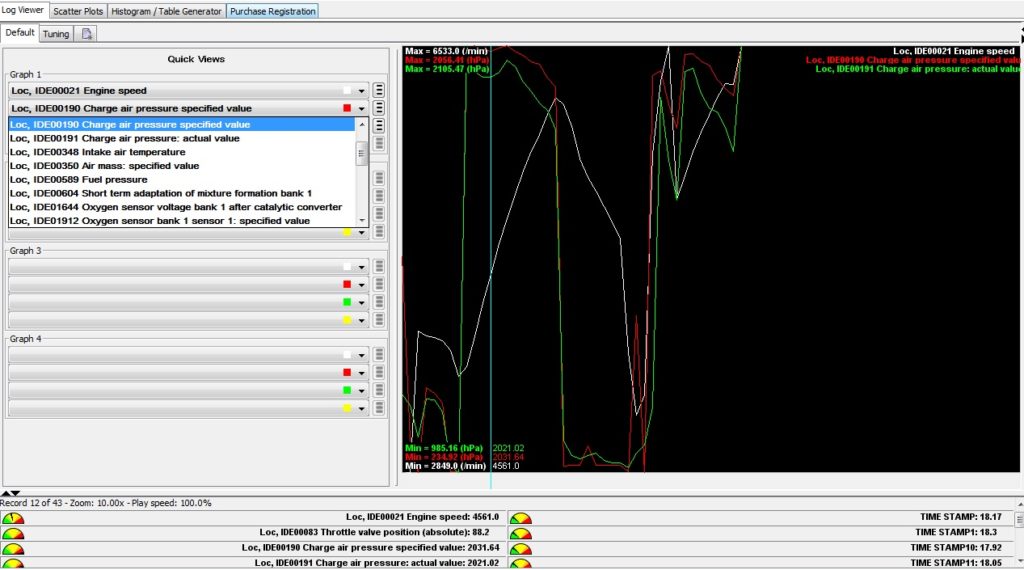
The boost levels with the factory calibration should not exceed 1.1 bars of boost in high loads and in normal altitude conditions. It should not also go below 0.8 bars of boost until the rev limiter. Here is a plotted log from a full throttle pass while logging load, rpm, requested and actual boost.
In the log below you can see the actual boost values in mbar (Millibar), at wot condition (wide open throttle) vs rpm. Boost does not drop below 0.8 or 1804 mbar until 7.000rpm.
This values alone eliminate the issue of lost boost or power, not only because they are constant but because in the following picture you will see that the actual boost follows the requested with a difference of 10 to 60 mbar which is nothing compared to the precision of metric unit we are logging.
Once you check this picture you will see that the engine management system is requesting 2031 mbar at 4561rpm and getting back as an actual value the 2021 mbar. Spot on for a factory calibration or for any future calibration that will be done to the factory ecu once we do our modifications to it.
If for any reason the actual boost can not follow the requested on a factory calibration map ecu will detect that after a certain threshold value and report a dtc which is also known as under-boost.
P0299 Turbocharger/Supercharger A Underboost Condition
This particular condition could be caused from various reasons. The main ones are :
- Pressure leak from intercooler or piping
- Diverter valve malfunction or has a broken diaphragm
- Failing map sensors
- Bad Turbo/wastegate or Supercharger
- Incorrect Calibration Settings
The following is a picture of a broken diaphragm from a turbocharger diverter valve which is bolt on directly to the turbo :
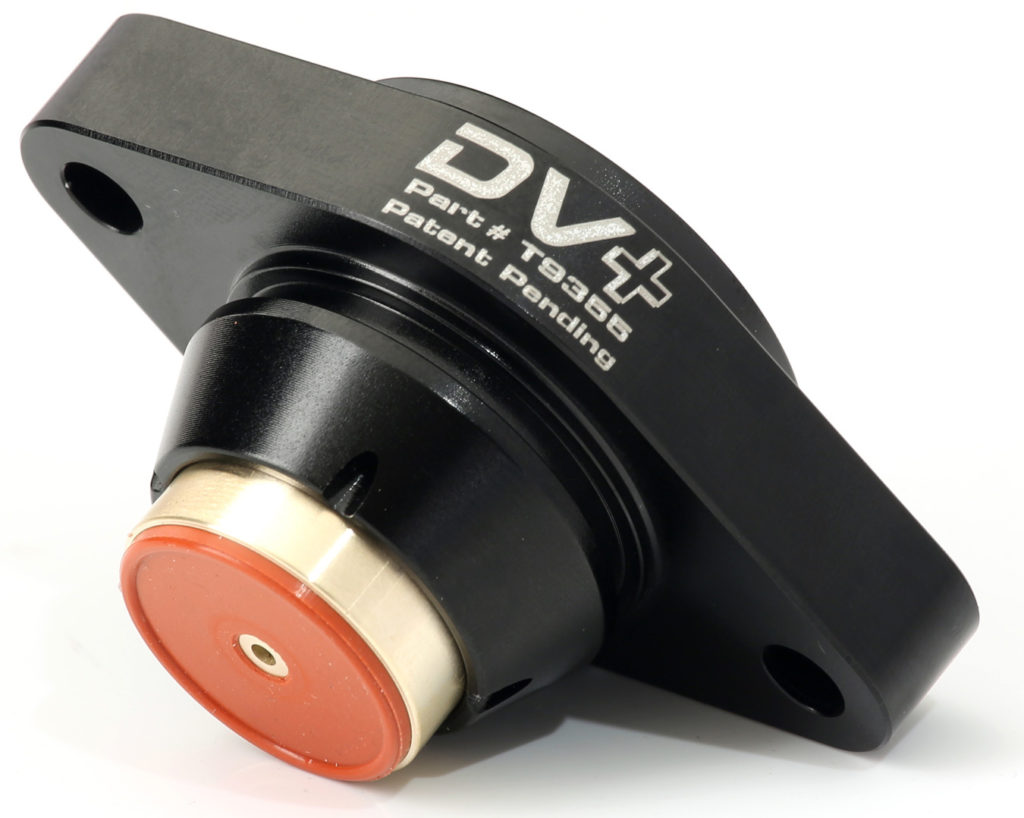
Proposed upgrade for this issue is the GFB DV+ which fits directly to the main diverter valve body and does not extend it too much.
Unlike other diverter Valves which are converting the factory one to a mechanical, this one will not produce the DTC code 17608 – Boost Pressure Control Valve ( N249 ): Mechanical Malfunction, since the response time remains fast enough and prevents from unwanted boost spikes from slow mechanical valves.
Installation Video Here:
If you are done with the diverter valve future air leakage and/or power loss from that area is now is prevented and it is time to do a step forward.
Let me share a small secret now. Is it possible to make more power in this 1.4 TSI engine when the car is dsg dq200 equipped, without programming the factory engine management system? The answer is a big yes and here is why and how.
All the dsg factory calibrations are limiting the engine power by requesting less torque from the engine management system or better yet reducing the torque output with “torque intervention requests” through the constant can-bus communication.
This method is used on every modern automatic transmission system now days for various reasons including protection of the clutches in certain cases. Our Dq200 has a number of torque limiters that will trigger torque intervention requests to the engine management system in order to limit the output and here is on as an example.
On the top you see one torque limiter which is actually multiple ones but we made it as one so everyone can understand. The values are in newton meters and those are the thresholds for each point/condition.
On the picture below you see one of the maps inside the engine management system that is requesting torque as this is a “torque request” based model ecu and again the values are in newton meters.
Just by quickly comparing the 2 pictures we can immediately see that at wot the ecu might request 280nm/290nm where the limiter in the first picture is going to be 250nm. Now there are other limiters inside this ecu that will also keep the power output on lower levels but they are not always active and they are always as important as the main ones.
A small test without using our dynamometer gave us from the first minute wheel spin on the second gear with winter tires when before it was barely spinning the first gear with normal tires and stock engine management system. Dynograph will follow in the next days.
That is not all. There are many many functions you can calibrate in order to allow more torque to come out on your front wheels and more tricks to be done (will be discussed later in summary ) by only programing the Transmission control unit and not the engine management system and this is where we are going to step in and provide a full working solution that no only will enhance the life time of your clutch discs but will also release more power from you engine on low rpm areas.
In addition we have re-enabled some features or fixed some issues with the dsg dq200 gearbox that some times are nerve braking and exist on most sw versions. We have also deactivated the kick down function which is stressing and increasing the wear of the clutch discs.
1 : Elimination of sporadic bumps between shifting first to second gear when the gearbox is hot and mostly used to take slow turns or accelerating inside the city traffic.
2 : Premature gear shifts causing the car to swift seven gears in a distance of less then 50 meters.The modification does not affect the fuel consumption.
3: Faster gearshifts as the stock calibration is very slow on gearshifts especially in low gears or when the Tiptronic mode is activated.
4: Bouncing rpm needle in the tacho is more obvious on some software version and that is adjusted in our software by changing the response filter.
5: Launch control re-activation on Most models or sw versions
6 : Kick-down deactivation on S and Manual based on customer request on most sw versions.
7: Improved paddle response on most sw versions.
8: Rpm limiters set to Desired limit
9: Increased clamp force for the discs on normal or big turbo applications.
10: Gear shift deactivation on tiptronic mode (Manual)
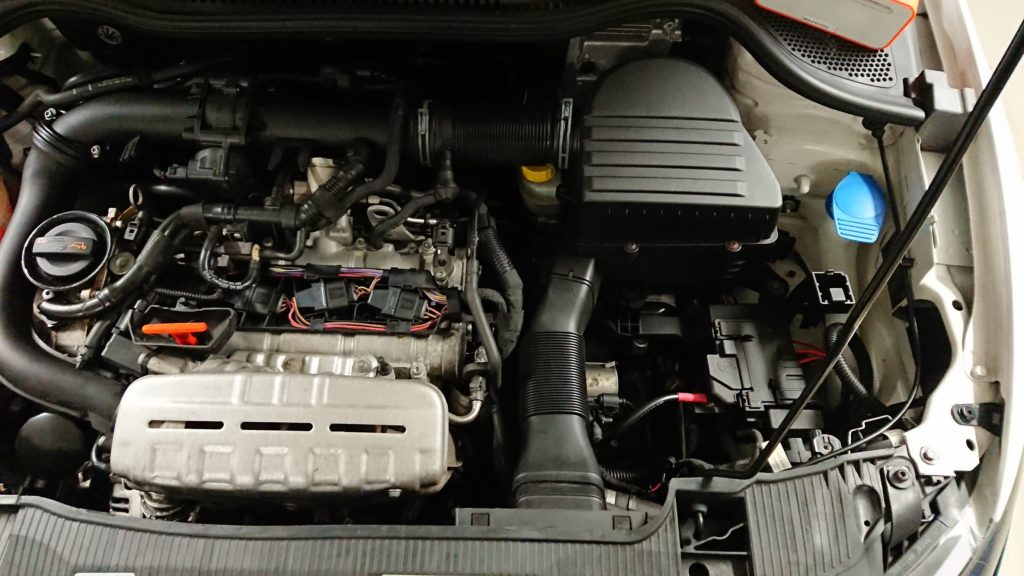
Next on the upgrades list is the cold air intake system.We will upgrade the stock intake system with a certain one from the market for 3 particular reasons.First of all we need an intake system that is TUV approved for street legal use in Germany.
Second and very important is that the intake system has to free up some space for further part installations and free up the front of ecu which will give us the ability to remove it easier for custom code development.
Third and final is the performance of the stock air filter might be poor for the amount of boost that we are going to run in this engine.
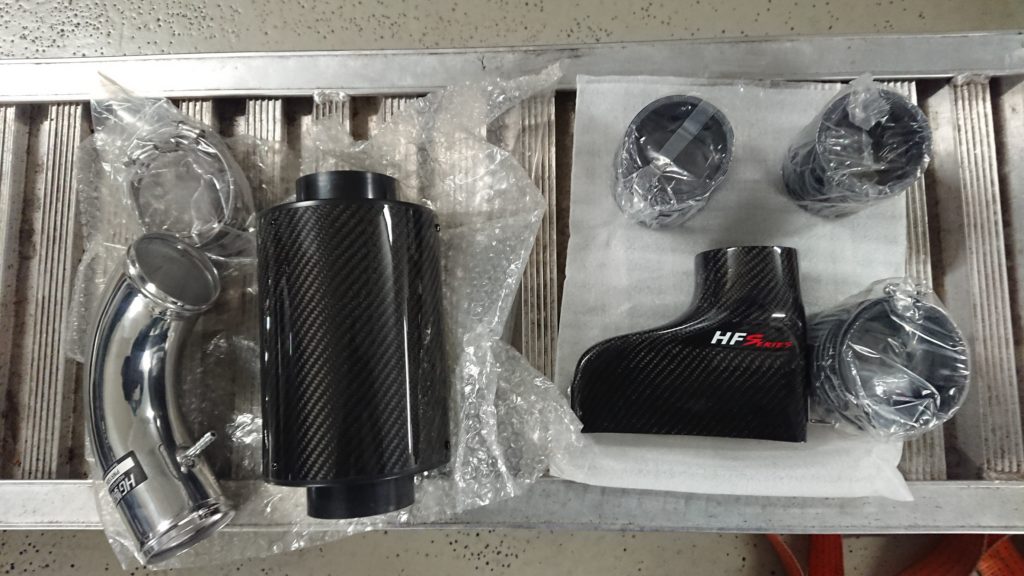
As you see our new intake comes from HG-Motorsports and is a part of The HF-Series intake systems which is essentially a mushroom type paper filter that is enclosed in a carbon housing.
The fitment was not 100% perfect as this intake system is made in order to fit several models including Vw Polo GTI 6R but with some minor modifications everything was fine.
Space is already freed up from top to bottom and now we are going to do some measurements on the dyno to see our possible gains from our new cold air intake.
Multimap on the stock ecu is ready more info will be posted here.
to be continued….
